Table of Contents
This article Azure Service Bus Integration With Asp.NET Core Web API shows how to use Service Bus with ASP.NET Core Web API.
In this article, we will create a solution that uses ASP.NET Core Web API to communicate with another ASP.NET Core Web API using the Azure Service Bus Queue.
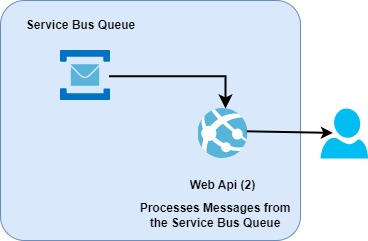
The first ASP.NET Core Web API sends messages to the Azure Service Bus Queue and the second ASP.NET Core Web API processes the messages as shown in the diagram above.
Creating a custom service to process messages
In the previous post, we created a solution for sending messages to the Azure Service Bus Queue, which you can read here Using Azure Service Bus Queues with Azure Functions.
In this post, we will create a custom service to consume the messages from Azure Service Bus queue in ASP.NET Core Web API and send an email to the end user using the MailService
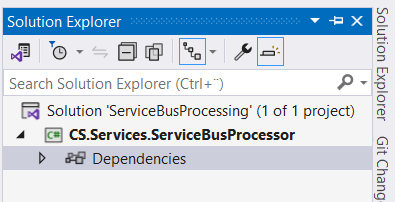
1. Open Visual Studio and create a new solution named ServiceBusProcessing.
2. Add a new class library project to the solution named CS.Services.ServiceBusProcessor.
3. Select .NET 6.0 as the version of the Framework to use and click the Create button.
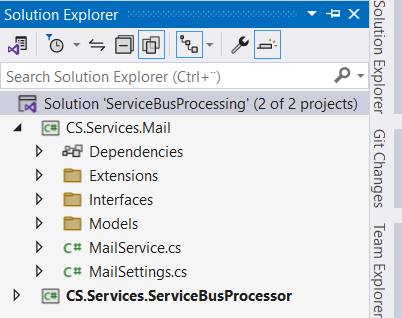
4. Add the CS.Services.Mail project we created in the previous post Using Azure Service Bus Queues with Azure Functions to the solution.
5. In Solution Explorer, right-click the CS.Services.ServiceBusProcessor project’s Dependencies node, and select Add Project Reference and in the Reference Manager dialog, select the CS.Services.Mail project, and select OK.
6. Install the following NuGet packages
Azure.Messaging.ServiceBusMicrosoft.Extensions.Logging
Azure.Messaging.ServiceBus is the Azure Software Development Kit (SDK) for ServiceBus that enables you to interact with Azure ServiceBus.
7. Create a new project folder named Models, and add a class file named Appointment.
namespace CS.Services.ServiceBusProcessor.Models
{
    public class Appointment
    {
        public int AppointmentId { get; set; }
        public int PatientId { get; set; }
        public string PatientFirstName { get; set; }
        public string PatientLastName { get; set; }
        public string DoctorFirstName { get; set; }
        public string DoctorLastName { get; set; }
        public string PatientEmail { get; set; }
        public DateTime AppointmentStart { get; set; }
        public DateTime AppointmentEnd { get; set; }
        public string Description { get; set; }
    }
}
8. Create a new class file named ServiceBusSetting that contains the queue name and the serviceBus connection string we created in the previous post (see below).
namespace CS.Services.ServiceBusProcessor
{
    public class ServiceBusSettings
    {
        public string ConnectionString { get; set; }
        public string QueueName { get; set; }
    }
}
9. Create a new project folder named Interfaces and add an interface file named ICSServiceBusProcessor (see below).
namespace CS.Services.ServiceBusProcessor.Interfaces
{
    public interface ICSServiceBusProcessor
    {
        Task ProcessMessageAsync();
        ValueTask DisposeAsync();
    }
}
Our interface contains two asynchronous methods, one for message processing and one for resource cleanup.
10. Add a new class file to the project called CSServiceBusProcessor that implements the ICSServiceBusProcessor interface, as shown in the following code.
namespace CS.Services.ServiceBusProcessor
{
    public class CSServiceBusProcessor : ICSServiceBusProcessor
    {
        private readonly ServiceBusClient serviceBusClient;
        private Azure.Messaging.ServiceBus.ServiceBusProcessor serviceBusProcessor;
        private readonly IMailService mailService;
        private readonly ServiceBusSettings serviceBusSettings;
        private readonly ILogger logger;
        public CSServiceBusProcessor(
            IMailService mailService,
            ServiceBusSettings serviceBusSettings,
            ILogger<ServiceBusReceiver> logger)
        {
            this.serviceBusSettings = serviceBusSettings;
            this.mailService = mailService;
            this.logger = logger;
            serviceBusClient = new ServiceBusClient(serviceBusSettings.ConnectionString);
        }
        public async Task ProcessMessageAsync()
        {
            var processorOptions = new ServiceBusProcessorOptions
            {
                MaxConcurrentCalls = 10,
                AutoCompleteMessages = false,
                MaxAutoLockRenewalDuration = TimeSpan.FromMinutes(5)
            };
            serviceBusProcessor =  serviceBusClient.CreateProcessor(serviceBusSettings.QueueName, processorOptions);
            // Register handlers to process messages and errors
            serviceBusProcessor.ProcessMessageAsync += MessageHandlerAsync;
            serviceBusProcessor.ProcessErrorAsync += ErrorHandlerAsync;
            await serviceBusProcessor.StartProcessingAsync().ConfigureAwait(false);
        }
        public async ValueTask DisposeAsync()
        {
            if (serviceBusProcessor != null)
            {
                await serviceBusProcessor.StopProcessingAsync().ConfigureAwait(false);
                await serviceBusProcessor.DisposeAsync().ConfigureAwait(false);
            }
            if (serviceBusClient != null)
            {
                await serviceBusClient.DisposeAsync().ConfigureAwait(false);
            }
        }
        private async Task MessageHandlerAsync(ProcessMessageEventArgs args)
        {
            var appointment = args.Message.Body.ToObjectFromJson<Appointment>();
            var mail = new MailData();
            mail.To = new List<string> { appointment.PatientEmail };
            mail.Subject = $"Appointment reminder for {appointment.AppointmentStart:g}";
            mail.IsHtml = true;
            StringBuilder sb = new StringBuilder();
            sb.Append($"Dear Mr./Mrs. {appointment.PatientFirstName} {appointment.PatientLastName}<br>");
            sb.Append($"This is a reminder that you have an appointment scheduled for ");
            sb.Append($"{appointment.AppointmentStart.ToString("dd.MM.yyy")} at {appointment.AppointmentStart.ToString("H:mm")}<br>");
            sb.Append("We look forward to seeing you.<br>");
            sb.Append("Best regards.");
            mail.Body = sb.ToString();
            await mailService.SendAsync(mail).ConfigureAwait(false);
            // Mark the message as completed
            await args.CompleteMessageAsync(args.Message).ConfigureAwait(false);
        }
        private Task ErrorHandlerAsync(ProcessErrorEventArgs arg)
        {
            logger.LogError(arg.Exception, "Message handler encountered an exception");
            // Or use you own Logging service
            return Task.CompletedTask;
        }
    }
}
The CSServiceBusProcessor class uses Dependecy Injection to get three instances of MailService , which sends the email using SendAsync , ServiceBusSettings, which contains the queue settings for the service bus and ILogger , and ServiceBusClient initialized.
ProcessMessageAsyn is responsible for registering handlers for message and error processing and for starting process messages.
We use the ServiceBusClient to create an instance of the ServiceBusProcessor, which provides the ability to process messages using the event handlers.
The ServiceBusProcessorOptions specify a set of options when creating a ServiceBusProcessor instance as shown in the following code snippet.
var processorOptions = new ServiceBusProcessorOptions
{
    MaxConcurrentCalls = 10,
    AutoCompleteMessages = false,
    MaxAutoLockRenewalDuration = TimeSpan.FromMinutes(5)
};
MaxConcurrentCalls : Controls how many messages are processed simultaneously. You can determine the appropriate number of concurrent threads for your scenario by testing.
AutoCompleteMessages : If this option is set to false, you are responsible to complete, abandon, defer or dead-letter the message.
MaxAutoLockRenewalDuration : We set this property to five minutes, which renews the message lock for up to 5 minutes to prevent the message from becoming visible again in the queue while it is being processed.
DisposeAsync is responsible for stopping processing and cleaning up resources used by ServiceBusProcessor and ServiceClient .
11. Create a folder project named Extensions, and add a new class file named CSServiceBusProcessorExtensions that contains an extension method AddCSServiceBusProcessor that will inject our CSServiceBusProcessor service with configuration settings into the intended application that will utilize it, as shown in the following code.
namespace CS.Services.ServiceBusProcessor.Extensions
{
    public static class CSServiceBusProcessorExtensions
    {
        public static IServiceCollection AddCSServiceBusProcessor(this IServiceCollection services, Action<ServiceBusSettings> configureSettings)
        {
            return services.AddSingleton<ICSServiceBusProcessor>(serviceProvider =>
            {
                var settings = new ServiceBusSettings();
                configureSettings(settings);
                return ActivatorUtilities.CreateInstance<CSServiceBusProcessor>(serviceProvider, settings);
            });
        }
    }
}
Also read https://dotnetcoder.com/creating-a-blazor-dropdown-list-component/
Creating ASP.NET Core Web API that receives messages from the Service Bus Queue
1. Right-click the solution and add a new ASP.NET Core 6 Web API with name CS.ReceivingApiApp.
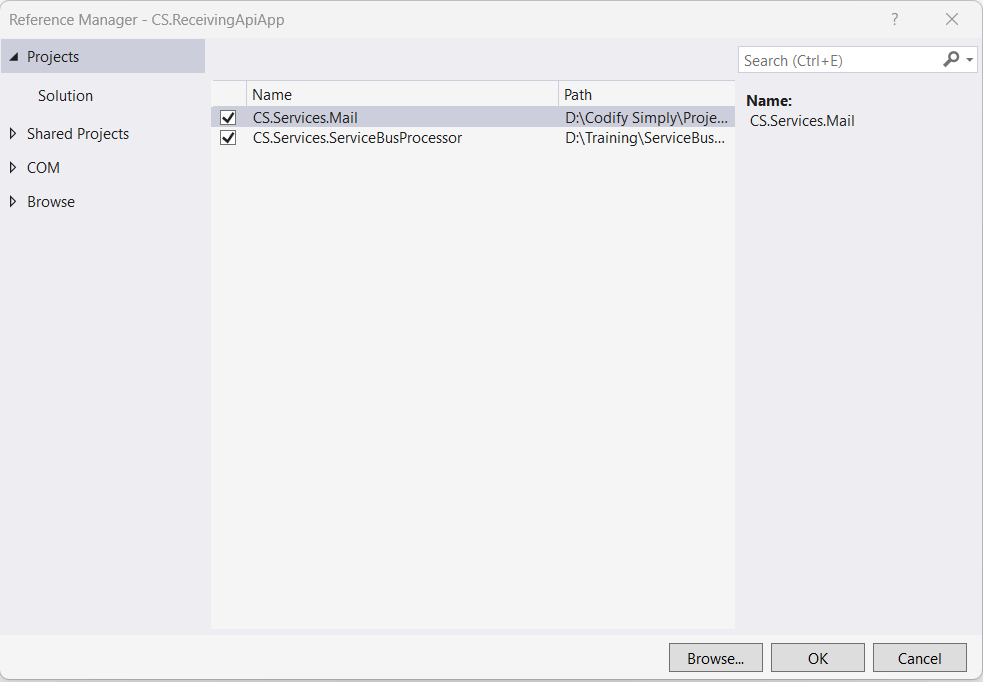
2. In Solution Explorer, right-click the CS.ReceivingApiApp project’s Dependencies node, and select Add Project Reference and in the Reference Manager dialog, select the CS.Services.ServiceBusProcessor and CS.Services.Mail projects, and select OK.
3. Add the primary connection string of Azure Service Bus queue with ListenerPolicy and Smtp settings to appsettings.json as shown below.
{
  "QueueName": "csblog-email-queue",
  "ServiceBusQueueConnectionString": "YOUR CONNECTION STRINF WITH LISTEN POLICY",
  "SmtpServer": "smtp.gmail.com",
  "SmtpPort": 587,
  "SmtpUser": "YOUR SMTP USER",
  "SmtpPassword": "YOUR SMTP PASSWORD",
  "From": "YOUR EMAIL ADDRESS"
}
4. In the Program.cs file, add the following code to register the MailService and CSServiceBusQueueProcessor services in the Dependency Injection container.
builder.Services.AddCSServiceBusProcessor(settings =>
{
    settings.QueueName = builder.Configuration.GetValue<string>("QueueName");
    settings.ConnectionString = builder.Configuration.GetValue<string>("ServicBusConnectionString");
});
builder.Services.AddMailService(settings =>
{
    settings.SmtpServer = builder.Configuration.GetValue<string>("SmtpServer");
    settings.SmtpPort = builder.Configuration.GetValue<int>("SmtpPort");
    settings.SmtpUser = builder.Configuration.GetValue<string>("SmtpUser"); ;
    settings.SmtpPassword = builder.Configuration.GetValue<string>("SmtpPassword"); ;
    settings.From = builder.Configuration.GetValue<string>("From");
});
5. In the Program.cs file, add the following code to start processing messages.
var serviceBusProcessor = app.Services.GetService<ICSServiceBusProcessor>();
serviceBusProcessor.ProcessMessageAsync().GetAwaiter().GetResult();
app.Run();
Also read https://dotnetcoder.com/building-a-reusable-blazor-select-component/
Azure Service Bus Integration With Asp.NET Core Web API
1. In Solution Explorer, right-click the CS.ReceivingApiApp project, and select Set as Startup Project, and click F5 to run the application.
2. In the previous post, we created a solution for sending messages to the Azure Service Bus Queue, which you can read here Using Azure Service Bus Queues with Azure Functions.
3. Run the application we created in the previous post to send messages to the Service Bus Queue and test by creating a batch message.
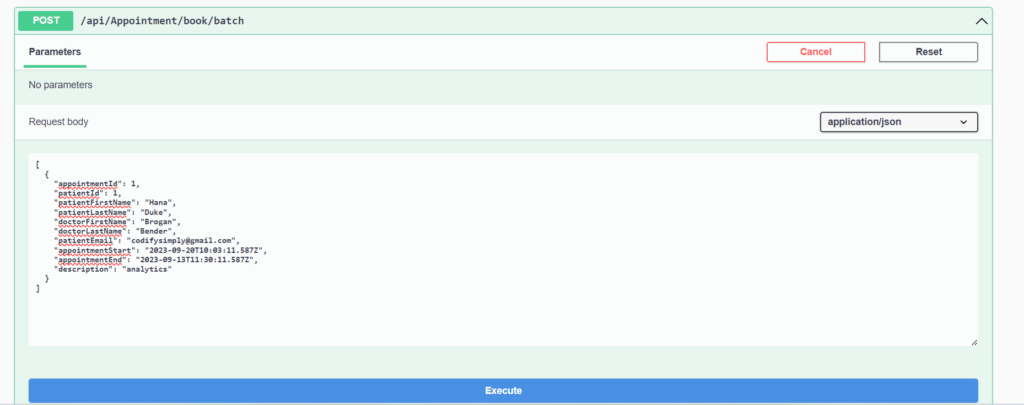
The CSServiceBusProcessor processes the message.
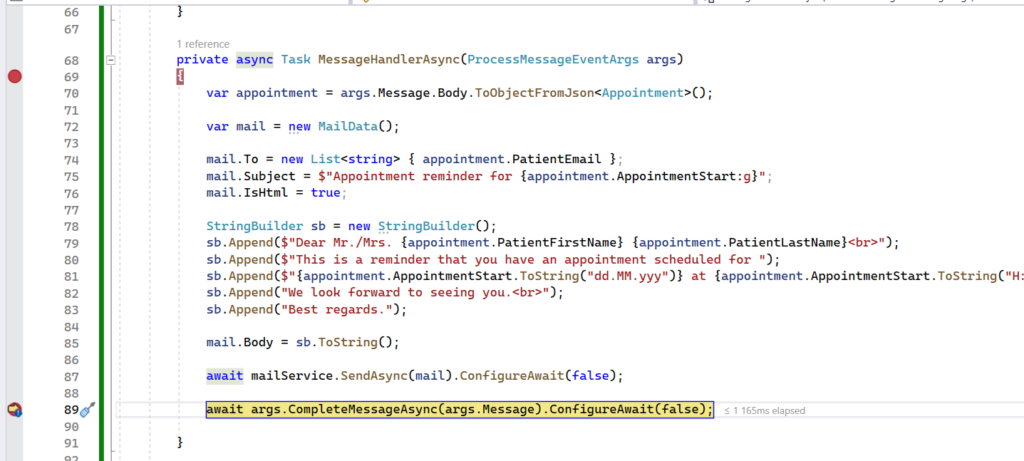
Once the message was processed, an email was sent to the user.

The code for the demo can be found Here
Enjoy This Blog?
Discover more from Dot Net Coder
Subscribe to get the latest posts sent to your email.


